With the Windows 10 maps app on Surface you’ll be mapping out your next road trip, sending a screen shot of your next meeting location, or calculating the distance between points A and B with ease. Annotating your maps has never been more useful! Here’s how to do it on your Surface Pro. Would you like to see a short video on this topic? Voilà!
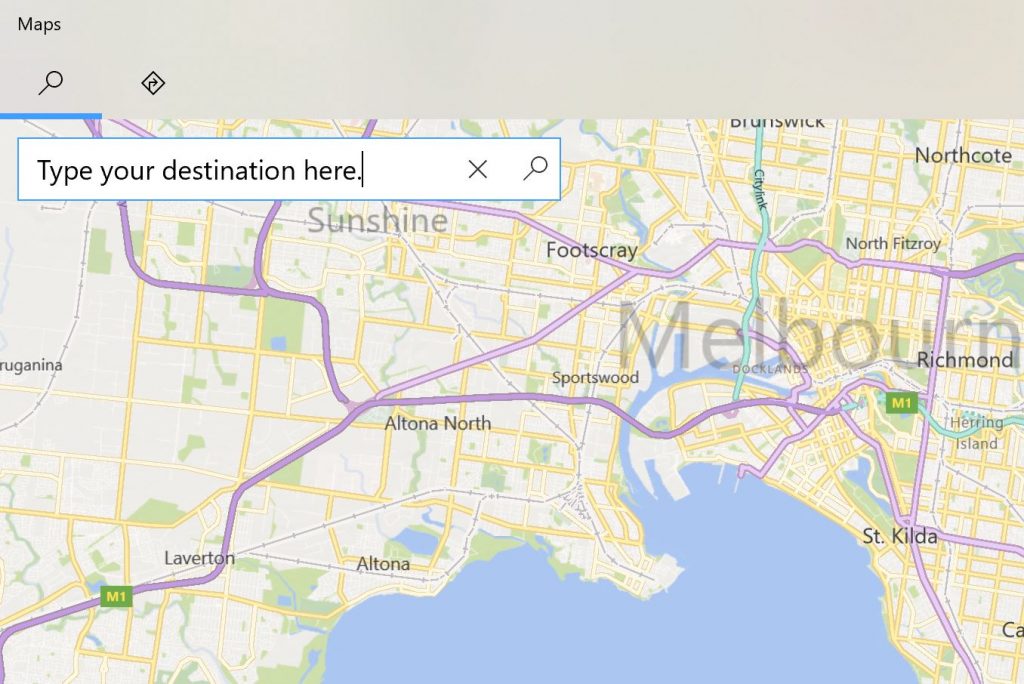
Step 1: Type in your destination
Open your maps app and type in where you want to go in the search bar.
Step 2: Select a pen
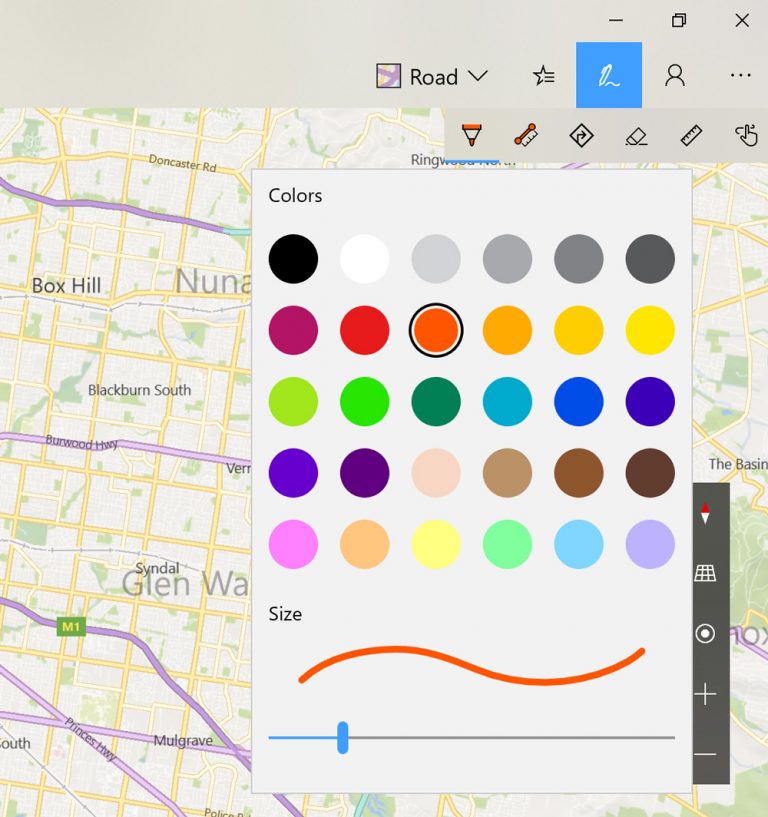
The tool bar across the top of the app screen has all you need. To draw on your map click on the pen icon. You’ll notice a drop down menu with six tools. The first tool allows you to choose a colour and thickness of the pen you want to draw with.
Step 3: Measure the distance
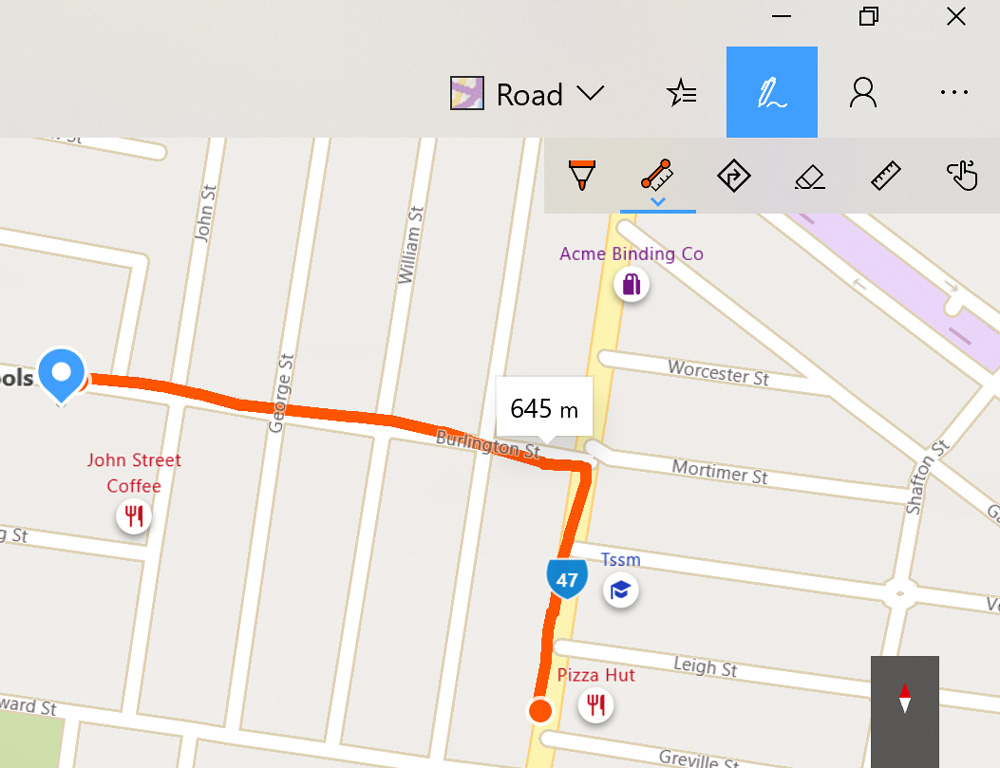
Now it’s time to measure the distance between point A and B. Select the “Measure Distance” tool and simply draw the route you want to take, directly on your map.
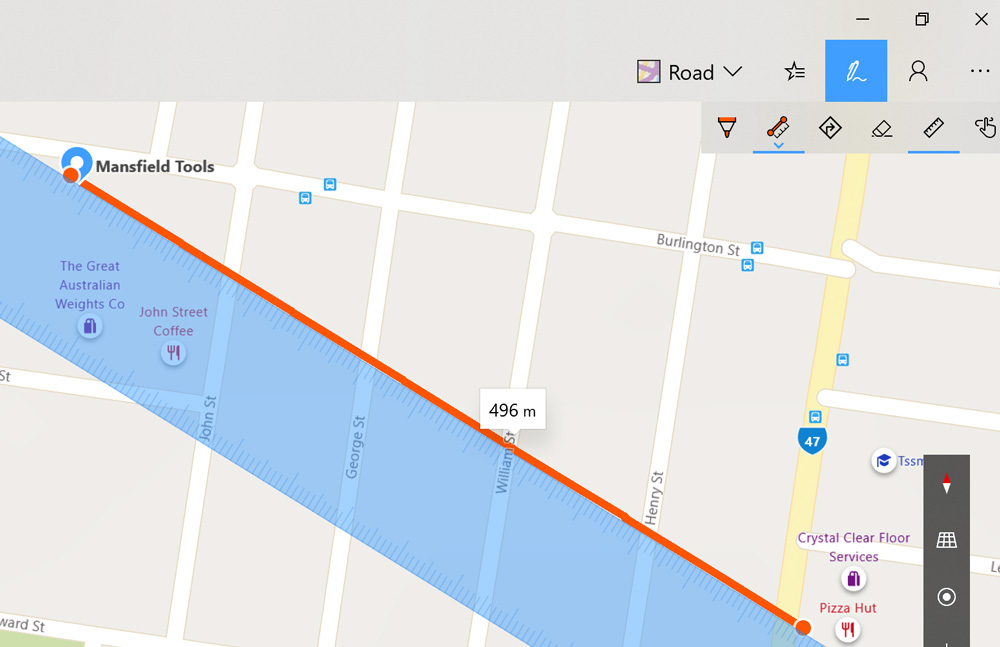
Alternatively, use the “Ruler” tool to measure the direct distance as the crow flies. With touch, on your Surface screen, move and rotate the ruler as you would on paper. Then, simply draw a straight line along the edge of the ruler with your Surface pen. That easy!
If you make a mistake, you can erase your digital ink with the back end of your Surface pen, or select the “Eraser” tool and use your pen tip.
Subscribe to oztabletpc on YouTube
If you use a Windows 10 device, subscribe to oztabletpc’s Youtube channel! You’ll get access to a new tip every week. Our tips are all demonstrated on the Surface Pro. Therefore, each tip is tailored to that specific device. However, most of them will be useful to know for any Windows 10 device. Check them out and boost your productivity today. Above all, learn things you may have never known before – like how to digitally draw on a map!
